10.10.2011

birdies

This past Spring, I decided to bring new life to our back yard. I planted some flowers in three new planters that I bought for our recently rebuilt deck. I also added new habitat, a bluebird box. I was very excited because while I am not a bird person, per-say, I do think bluebirds are gorgeous and vibrant animals. Brannon and I attached the box to what was left of our tree that had been struck by lightening. There were some difficulties at first with another territorial bird trying to take up residence, but we quickly thwarted the efforts of the house sparrows and had quite a few bluebirds interested in occupancy, see:

The quality isn't great since I took it from inside the house, but you can still see how beautifully vibrant my tenants are!

I have also added some feeders to attract other pretty birdies.

We also added two maples to our backyard that will hopefully be spectacular next fall. They apparently made a great refuge for the next two birds. Not sure what kind of little birdies these are, but they were just too stinkin cute not to snap. This was the morning after a terrible summer storm, and they just look so put out by what they have just endured.

There was a lot more work to keeping a bluebird box than I ever anticipated. I thought I would just hang the box and the cute twitter-pated birdies would arrive. Um, not exactly... There is a bit more to it than that, but it was worth it when I saw two little broods of these cute little baby birdies. See the cute baby birdies sleeping, ADORABLE!

10.09.2011

tu-tu-riffic!

There is nothing cuter than a little girl in a tu-tu...so PRECIOUS! Where was the tu-tu craze when I was little?!?! Oh well, if I couldn't wear one, might as well make 'em. The good news is that you don't have to have a sewing machine. My friend taught me how to make a no-sew tu-tu. Here is what you will need:

  • spool of wide satin ribbon
  • 4 yards of tulle-buy it off of the bolt, not on those rolls of tulle-it's just easier that way
Yep, that's all it takes. Take your tulle that should already be folded in half from being on the bolt. Holding the tulle on the fold, roll the tulle up. Cut the roll of tulle into 3-inch strips. Unroll all of the strips and cut in half. Take your ribbon and cut off a strip large enough to wrap around the waist and make a bow. The measurement I was given was 4 yards of ribbon, but that may be too big for some smaller tu-tus. Regardless of how big you need to make the waist, you will need to tie a knot at 20-inces at each end of the ribbon. This will create the ribbon for the bow and the knots will serve as stops for the tulle. Take your strips of tulle, fold in half and wrap around the ribbon pulling ends through the loop side of the tulle making a knot. Keep adding until your tu-tu is done. 


Here are some of my first tu-tus:


A tu-tu and applique-too bad they grow out of this stuff so quickly!

9.06.2011

new home gifts

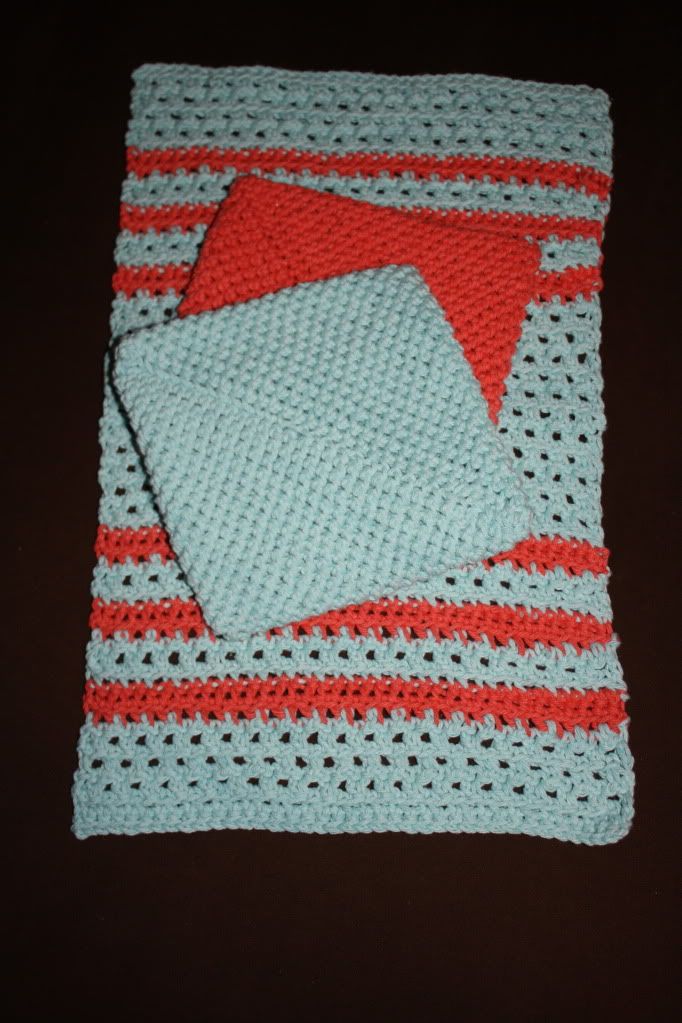
My friend just moved into her newly-built house. I made her some of my crocheted potholders in coral and robin's egg blue. I tried a new dish towel pattern from Lion Brand Yarn's free patterns. You can go to Lion Brand's website to register to view free patterns.

9.01.2011

college football

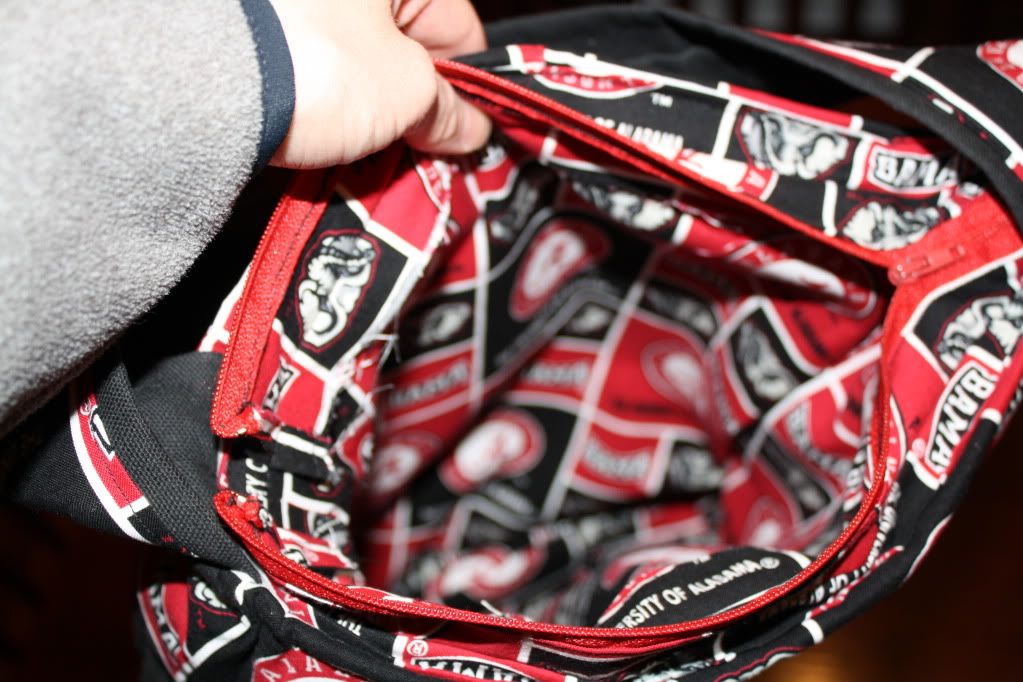
I'm still here! And college football is here! I love this time of year. Just about every team I follow has a new coach this year, so it should be an interesting season. I am a Vandy fan at heart (somebody has to be :)), but I have married into Volmania. I must say that with one trip to Neyland, it is a very contagious disease. What's funny is that I was raised by two Roll Tiders. We just about have the SEC covered in my family! For my Alabama-routin' mama, I made this tote:
I didn't have a pattern, so I just winged it. It was supposed to be a tote, but it turned into more of a purse. Not sure that she will ever use it, but I just had to display the U of A fabric that she had bought. I also found the Alabama "A" clip art and my machine took the clip art and "stitchitized" it into a monogram.

Here are some more shots:
I have bought my first Amy Butler (a fabric and pattern genius) purse pattern, so next time I will have blueprint with which to work!

Not that I will have time during football season to sew a purse ;) Go 'Dores or Vols or Blue Raiders and Titans...I'm so confused!

6.08.2011

oh yeah, here are some more baby shower goodies

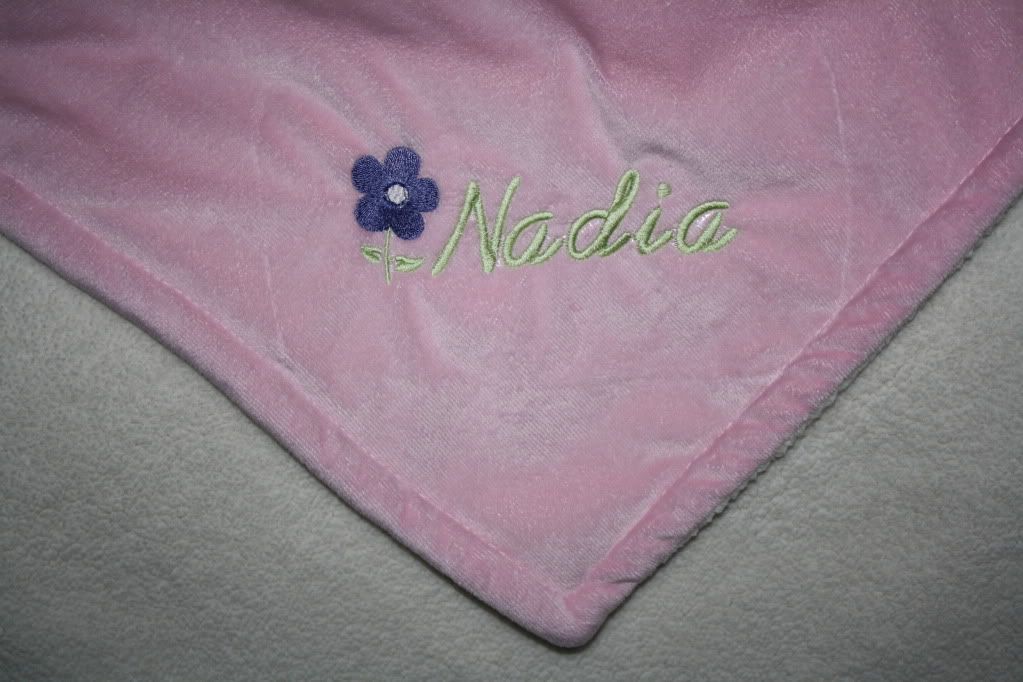
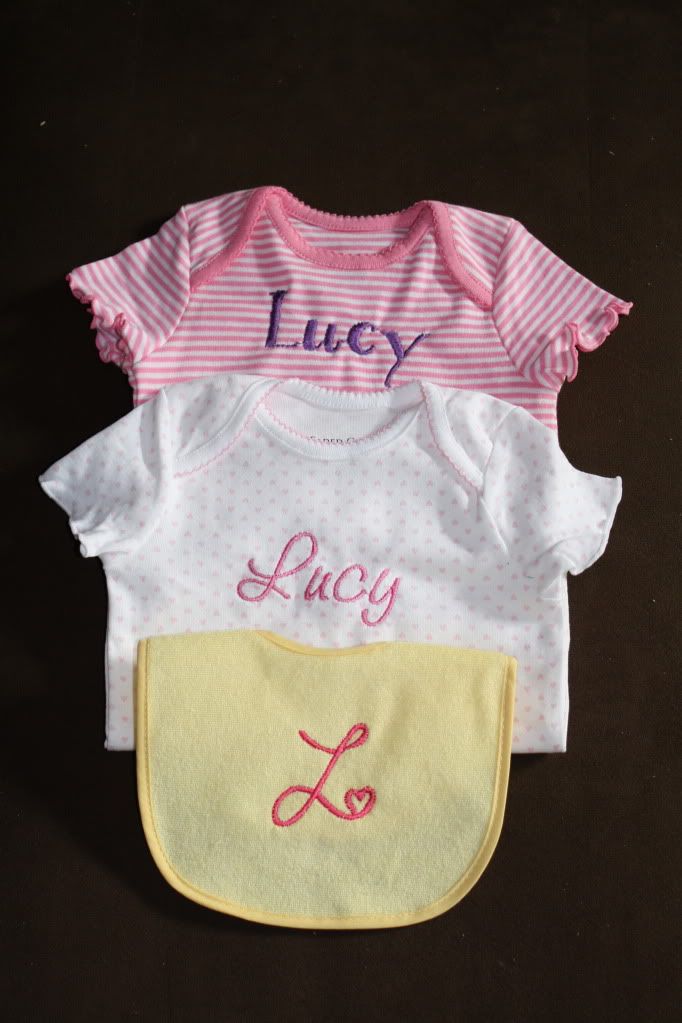
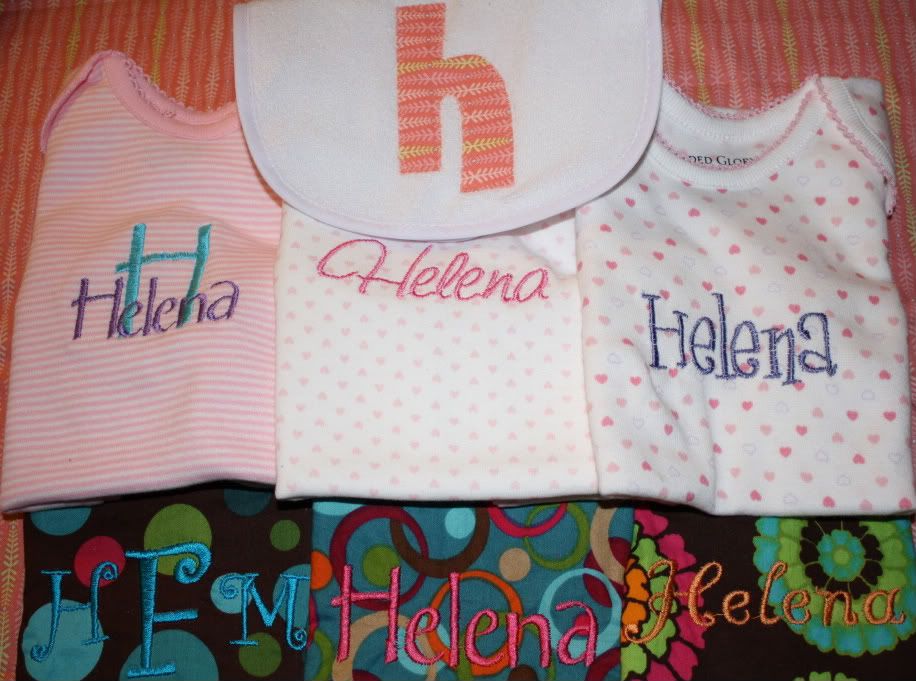
Forgot about these! I really trusted the preloaded graphics on my embroidery machine and tried the cute flower.
I have also been downloading free fonts online including the cute font on the bib that has a heart at the end of every letter. It is pretty easy to download the fonts and fortunately, if the font is on my computer, my embroidery machine can use it.

more baby shower diys

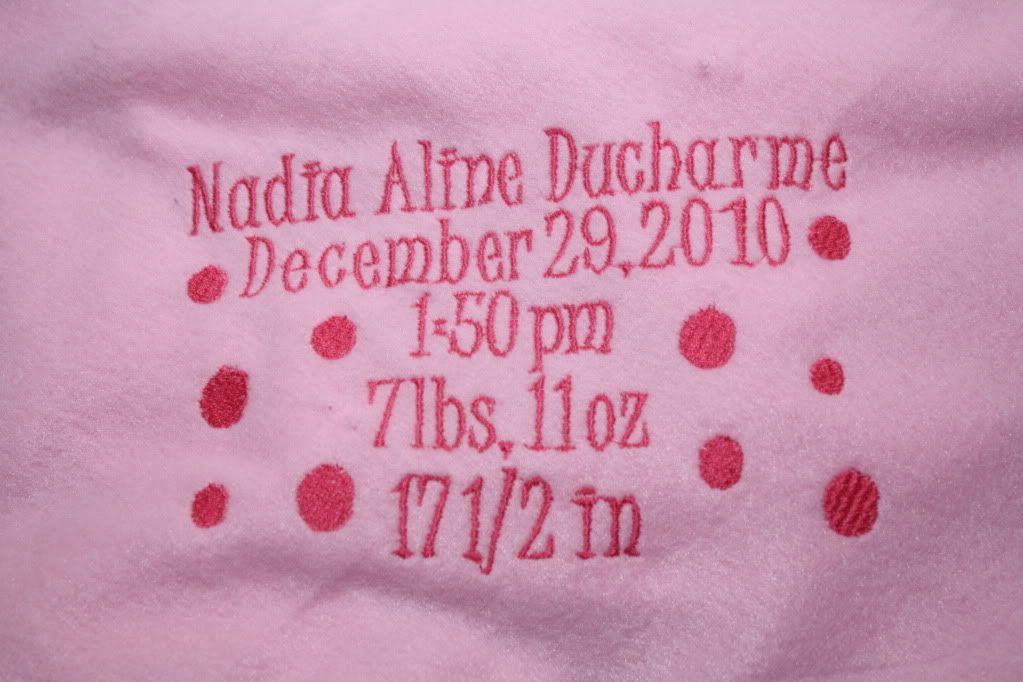
Since I have been invited to many baby showers recently, thought I would share some of the other baby gifts that I have been making. Here is a "stats" blankie that was made for my best friends' most recent little addition:
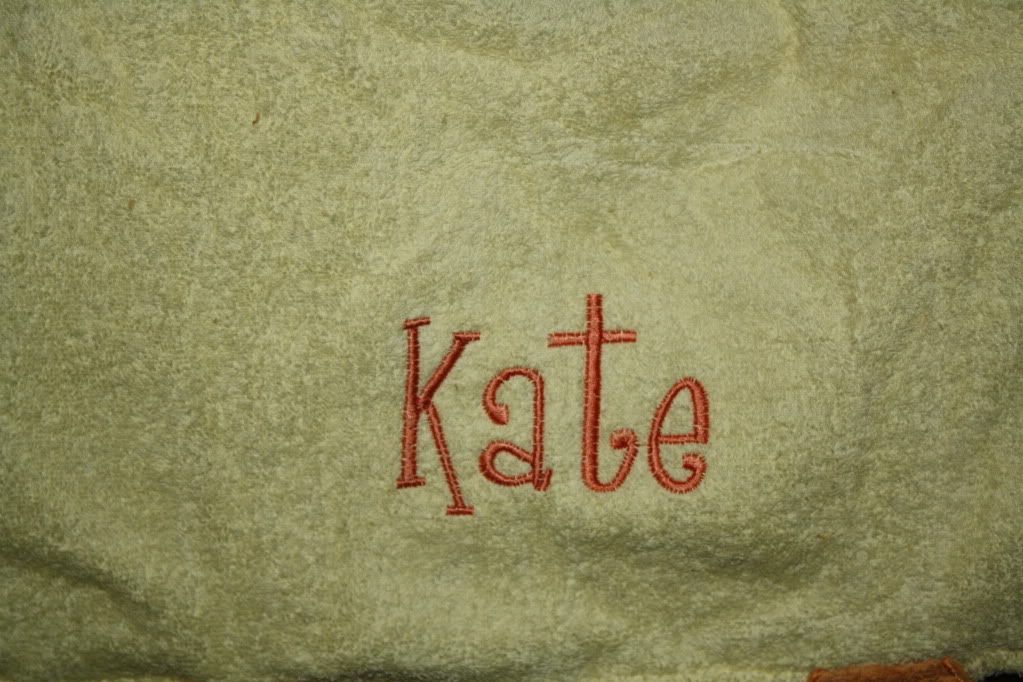
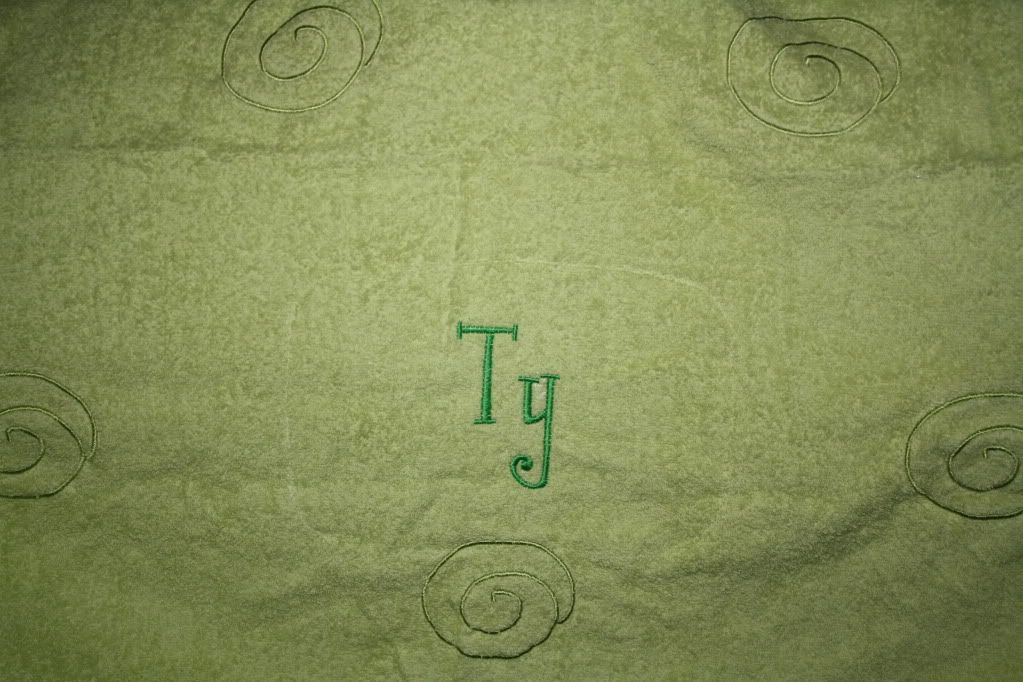
I have also embroidered other blankies:
And some of those cute hoodie towels that look like a duck and a frog:
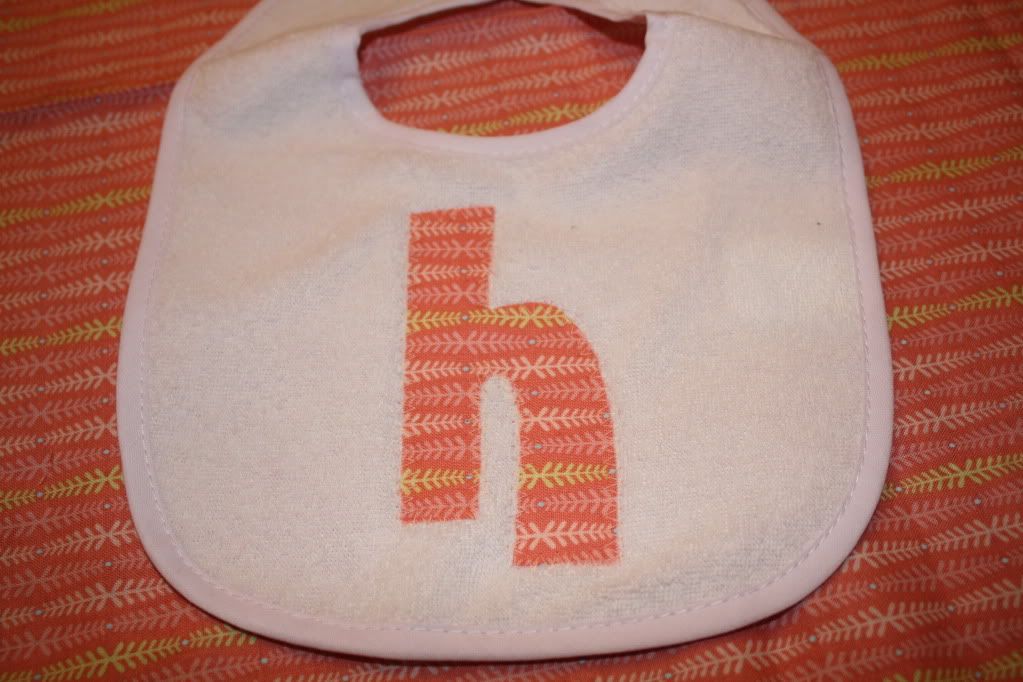
I also tried something new-applique! I have only made this one bib, and I still do not have the hang of it, but it is pretty cool. You just attach the material you cut out with some double sided fusible interface like wunderunder, stitch around the edges (this is the tricky part) and voila, you're done.
Now I have a whole slew of made-with-love goodies for my mommy-to-be besties!

6.06.2011

diy burp cloths

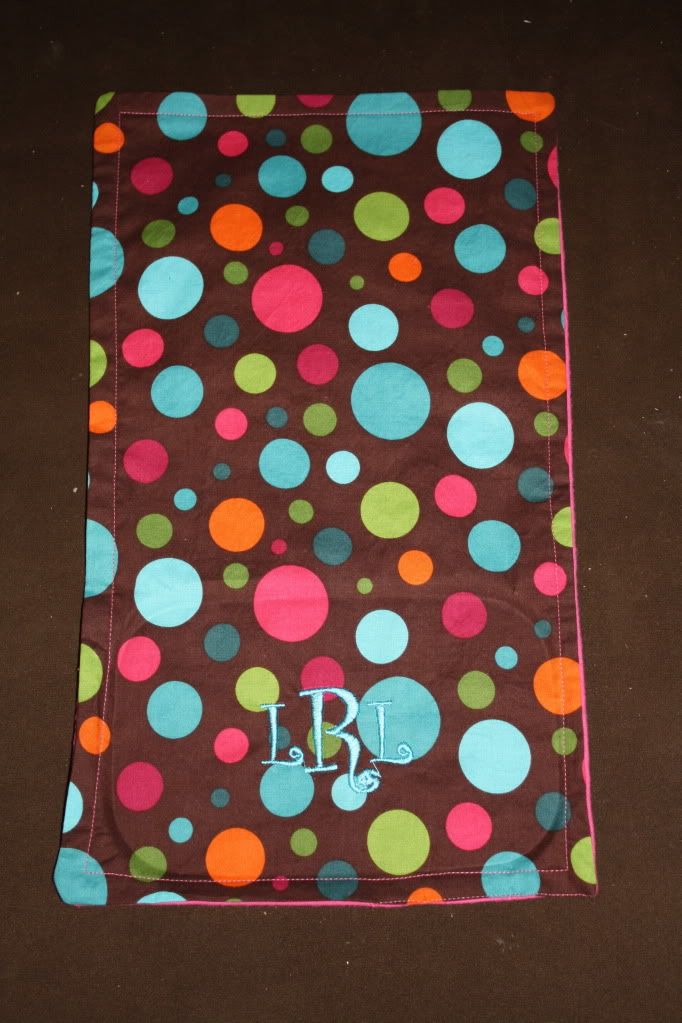
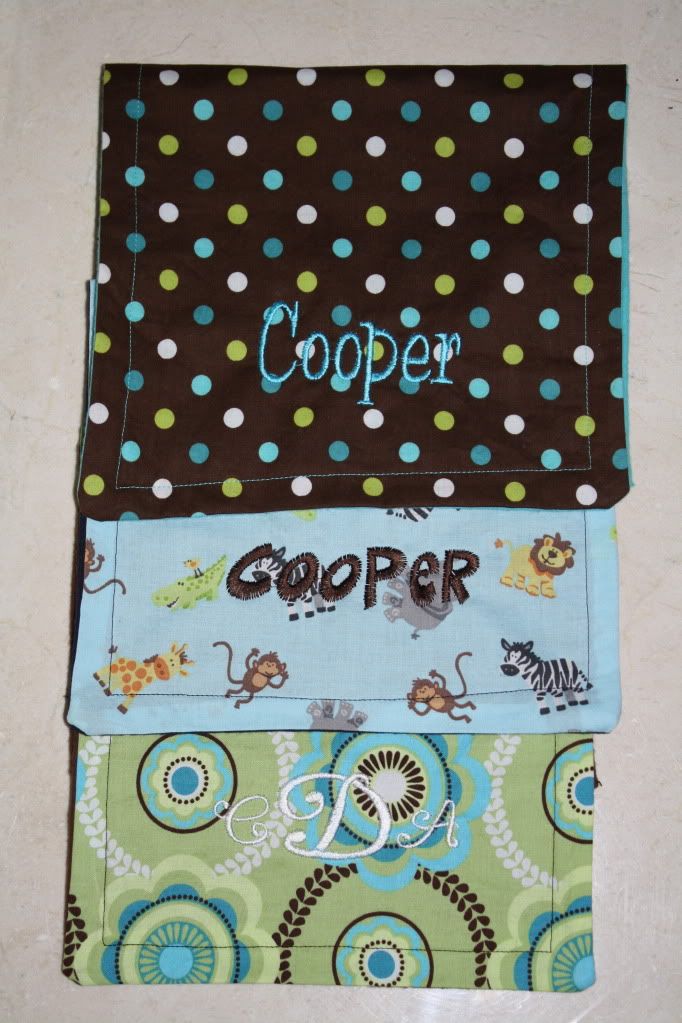
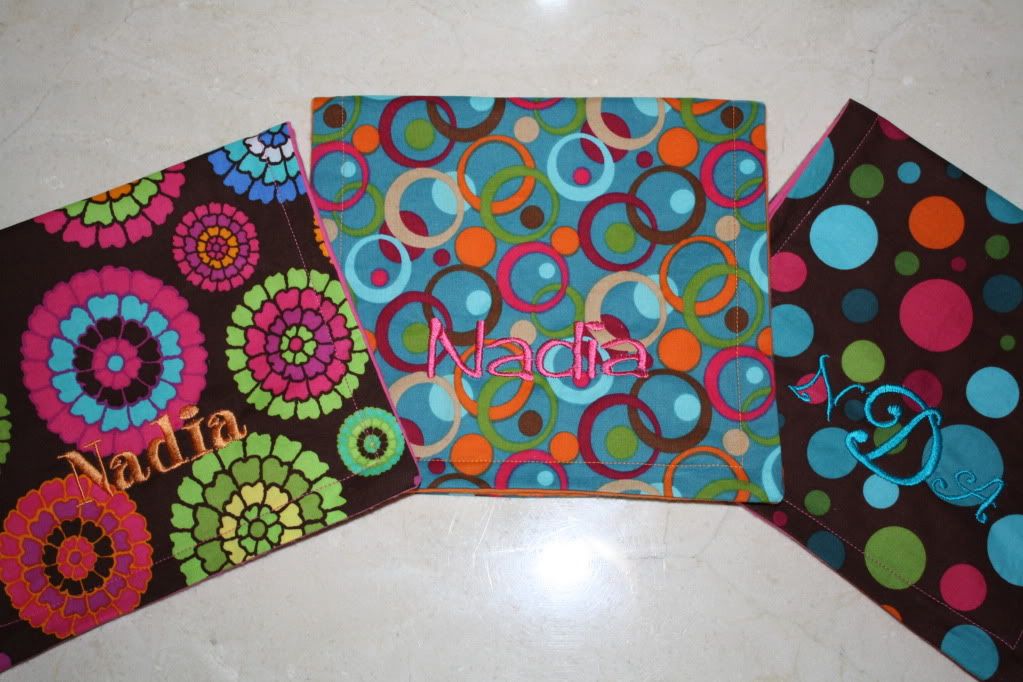
So, I went to a friend's baby shower last year, and she was given a few adorable burp cloths that were monogrammed. When the gifts were passed around, I inspected the burp cloths and thought, "I could make those"-it's just monogramming and sewing two rectangular pieces of cloth together. I hopped online and searched for some dimensions for my next project (thank goodness for Google)! Here is what I went with: Homemade Burp Cloths from the baby gift hot list. I used a cotton print for the top and flannel for the bottom. I am going to use a minky dot material for the bottom once I finish using up the flannel. The flannel works fine and is absorbent, but the minky dot is softer on a baby's face. Here is the first burp cloth that I made (which I finished embroidering about 5 minutes after I should have left for the shower-yikes):

What is great is that I have already cut out the fabric to make many more, so I can just make burp cloths on the fly! Seriously, you would be surprised how handy it is to have these supplies on the ready. I have made many more since my first attempt: